Creating an Automated Workflow with Singulate starts at HubSpot.
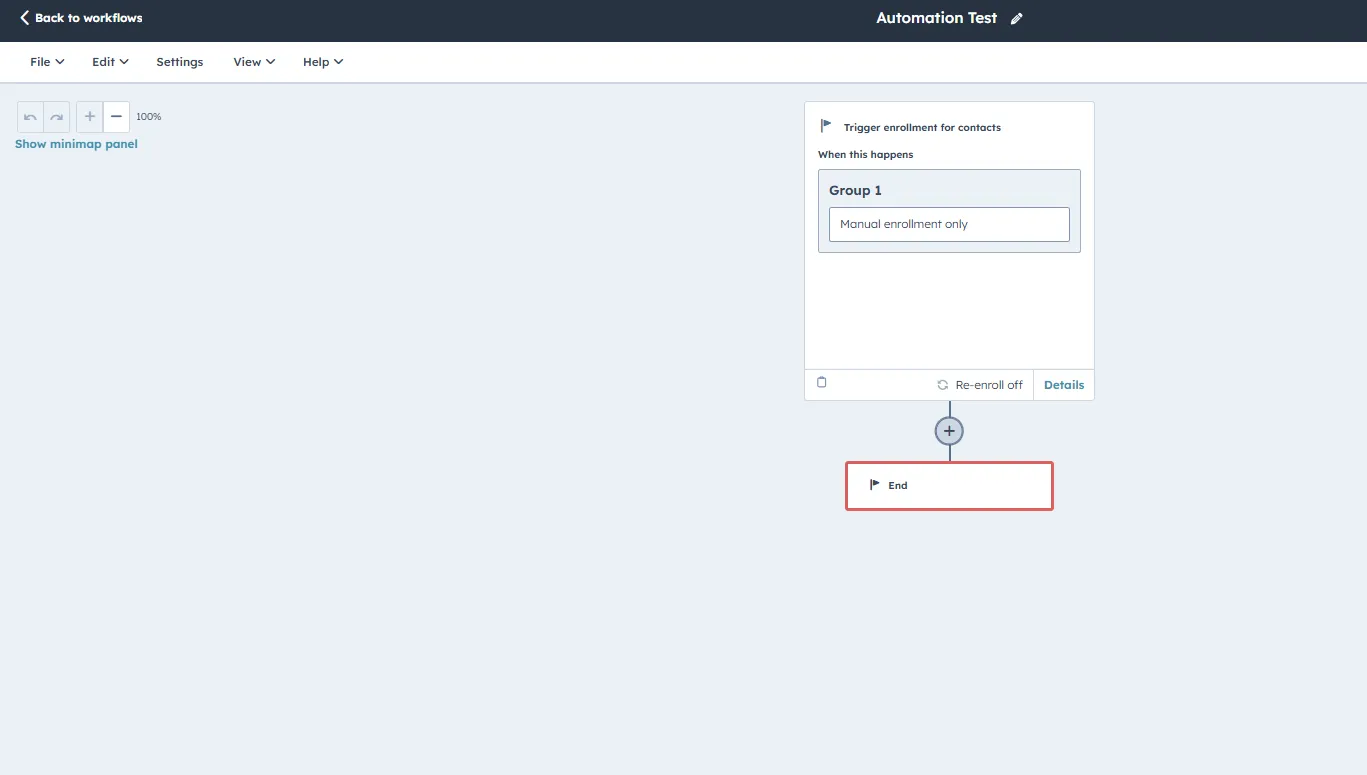
Step 1 - Setup
When you are ready to attach an Email step - instead - select a “Send with Singulate” step - here is a simple example
Click on the (+) button where you want the email to be delivered
.webp)
On the left hand side under “Integrated apps” scroll until you get to “Singulate”
Step 2: add a “Singulate Generate” step
.webp)
Step 3: Singulate Integration
Choose the name of your company) under Singulate integration (if you have multiple companies on Singulate - choose the one you want to send from).
For Communication Title - just give this step a unique name (like Step 1, or Email 1)
.webp)
You can either finish your Workflow set up - or proceed to drafting.
Step 2 - Drafting
Go to Singulate and Automations
.webp)
Click on “Sync workflows” to automatically retrieve the new Automations.
.webp)
Click on Create
.webp)
Decide on a “Sample audience” - there are two critical reasons for this.
- Sample audience will help you visualize your personalized content for your intended audience, even before you enroll your contacts to your workflow.
- Sample audience will help select “special” fields that may be needed for an Automation For example - for a form field, you can create a Sample List based on some sample responses, to include attributes such as form fields that are unique to this list.
Once you are done with the basic settings click on “Create”\
Step 3 - Publishing
Go to “Review and Publish” on the top right
Publishing an Automation STEP will not immediately send any emails and is an operation that can be safely taken
Pay attention to the recommendation and resolve them them (recommended)
.webp)
An “unsubscribe” tag is required in both HubSpot and Singulate to send a marketing email, if you accidentally deleted the unsubscribe that comes by default on emails, ensure you add one (probably on your footer or the end of your email) from the menu in the editor:
.webp)
HubSpot Enterprise or with the Transaction Add-On
- Once ready - click on “Publish” on to bottom right.
- You can now navigate back to HubSpot and refresh the workflow page:
- A Send Email step should be attached:
.webp)
You can repeat the process to add additional Send email steps. [Continue to Step 4 for closing steps]
HubSpot Professional plan
Once ready - click on “Publish” on to bottom right.
It is expected you will receive a warning such as this one.
.webp)
Click on “Publish your email on HubSpot” - Do not close your window on Singulate
On HubSpot - go to “Review and Publish” on the top right:
.webp)
Finish publishing the email. DO NOT click on attach to Workflow, click on “I’ll do it later” instead.
.webp)
.webp)
This is an important step - go back to your window on Singulate and click: “Check email status"
.webp)
You will receive a confirmation that the email is now Published
You can now navigate back to HubSpot and refresh the workflow page:
A Send Email step should be attached:
You can repeat the process to add additional Send email steps. [Continue to Step 4 for closing steps]
Step 4 - Launching your workflow
Once finished - in order to launch your Workflow go to your HubSpot Workflow and click “Review and Publish”
.webp)
If you have an automatic enrollment - such as a “Form send” - you don’t need to take any additional actions.If you have a manual enrollment enabled - this is where you can enroll your contact list to the send:
You can do it either when you are publishing:
.webp)
[Recommended]: you can skip to turn on - and manually enroll your contacts later using the Enroll option on the Top Right:
.webp)
Additional: testing your Workflow
It is recommended to test your workflow before manually enrolling your contacts - to ensure everything is working as intended.
Singulate recommends publishing your workflow, and manually enrolling contacts as the best way to test your workflow.
Test feature:
It is NOT possible to use the “Test” feature on HubSpot workflows - or the individual emails - as this feature skips over the “Generate” steps on the workflows - this means your emails will look “Blank” as we haven’t yet generated the email for that contact.
To protect your contact’s privacy - Singulate will not read contact details unless a contact is enrolled to a Workflow, meaning we only generate emails for contacts who were enrolled.
Delays & testing:
Delays and testing: Sometimes workflows have delays which make it harder to verify a full Workflow. We recommend temporarily removing the delays or adding the delays AFTER you’ve tested all steps and communications to your satisfaction.
Re-enrollment:
Sometimes you may want to test the email by enrolling yourself - it is important to make a few considerations:
Sometimes you may want to test the email by enrolling yourself - it is important to make a few considerations:
- Make sure no conditions on the workflow exclude yourself to ensure you will actually receive the emails.
- We recommend you test with variants of your email such as myemail+EMAIL1@MYDOMAIN.com or myemail+EMAIL2@MYDOMAIN.com - for example for Thomas working at Singulate it would be thomas+email1@singulate.com thomas+email2@singulate.com - this will require creating these contacts on HubSpot.
Caveat 2 with re-enrollment:
As of right now while Singulate partially supports re-enrolling a contact we will not generate a new version of the email the second time around - so if data is updated between enrollments - we currently do not support creating a more up-to date email for that step.
This is important for some niche use-cases, please contact support if this use case is critical for you!

