Step 1: Create your first Campaign on Singulate
Navigate to campaigns:
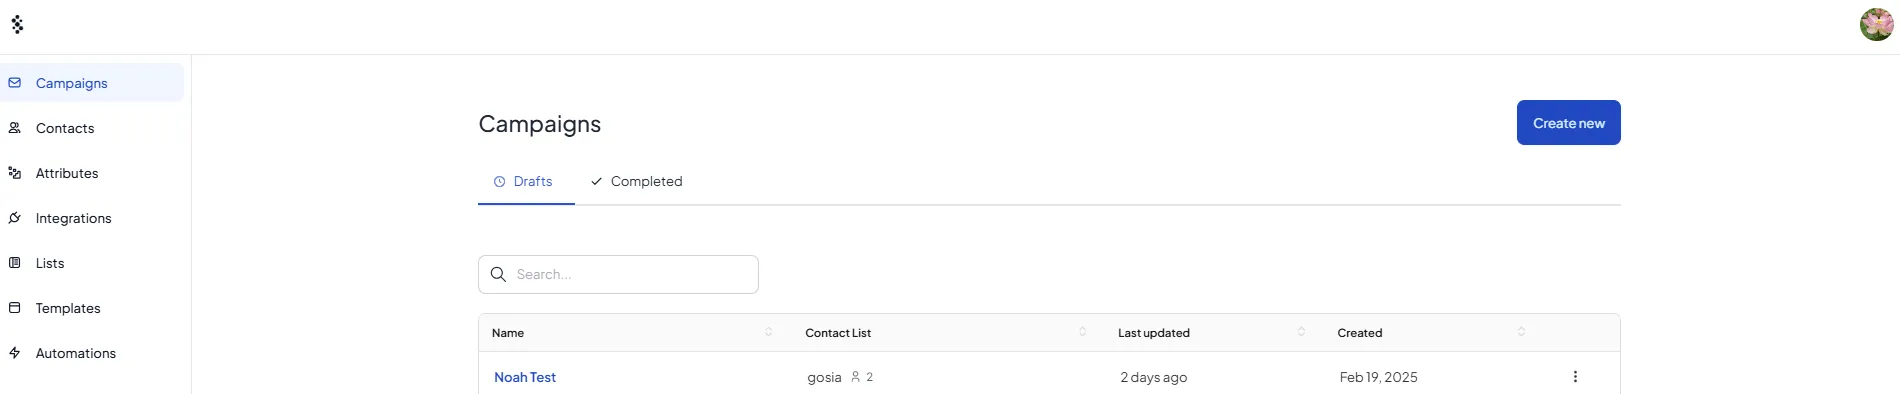
Click on create new on the top right:
Step 2: Create your first Campaign on Singulate
Configure a title under New Campaign - this is how you will identify this campaign on either Singulate or HubSpot
.webp)
Select an Audience from your list of Contact Lists synced from HubSpot (Create your HubSpot synchronized contact list for more details)
.webp)
If you want to exclude any contacts, you can configure your “Do not send” list - you can add as many contact lists as you want to exclude:
.webp)
If you want to exclude a single contact, you must create a new contact list with that contact first.
Select a sender email (ensure your domain matches the one you have configured on HubSpot - (for example if your domain is singulate.com your email must be something like john.doe@singulate.com or noreply@singulate.com ).
.webp)
Ensure the integration on the bottom right sends “Sending with HubSpot”
Choose an appropiate Subject line for your send.
For advanced options - you can further configure your subject line in HubSpot before send, once the email is generated.
Finally - select the right Template - please see our upcoming guide on Templates for more information
Once you are ready select “Create and start writing”
Step 3: Compose your email
Please read our editor how-tos for details as to how to best leverage Singulate’s unique features
Step 4: Review and generate
Click on Review and Generate on the top right
.webp)
Pay attention to the recommendation and resolve them them (recommended)
.webp)
An “unsubscribe” tag is required in both HubSpot and Singulate to send a marketing email, if you accidentally deleted the unsubscribe that comes by default on emails, ensure you add one (probably on your footer or the end of your email) from the menu in the editor:
.webp)
Once ready - click on “Generate” on to bottom right - the number is the number of emails to generate - it will look different on your own campaign.
.webp)
The generating process can take several minutes depending on the size of your contact list.
Step 5: Get ready to export your campaigns into HubSpot
.webp)
The export process can take several minutes depending on the size of your contact list
NOTE - we do NOT automatically send an email, this means you are going to be able to control the time of sending on a subsequent step.
By clicking on “Export emails” the process of creating an email on HubSpot will start.
.webp)
Once the export is done this is what you will see on Singulate:
.webp)
Important: Do NOT use the Clean up feature until you are done interacting with the email (we will confirm before taking action anyway).
Clean up will delete the template, extra attributes that were generated - but will not remove analytics - it is safe and recommended to Clean up your data AFTER you send the email.
Click on Go to HubSpot Email
Step 6: Final tweaks, testing, send
You will end up on HubSpot on a page that looks something like this:
.webp)
In order to finish the send - you will now be using HubSpot’s native features.
Go to “Edit email”
.webp)
You will see a Review and Send on the top right - after clicking it you will see something like this
.webp)
Clicking on “Send” will deliver your one-off campaign 🎉!
Additional: Testing your email, settings
Testing your email
On the top right you will see a “Preview” option and “Preview as contact”
A caveat with “Previewing” - Singulate ONLY populates the data to the intended recipients, only attempt to preview contacts that were on the contact list.
After selecting a contact from your recipient list you will be able to preview your email.
.webp)
You can also use the Inbox preview feature from HubSpot, or Send a test email using the “Preview” features at HubSpot.
Settings / Schedule
Subject line personalization: You can leverage all configuration options from HubSpot including but not limited to:
SETTINGS PAGE:
Subject line personalization:
.webp)
Preview text configuration:
.webp)
Dynamically adapting your sender:
.webp)
RECIPIENTS:
You can remove recipients, but DO NOT add additional recipients from this page - instead, duplicate your campaign in Singulate and re-generate. This is because additional recipients will not have their dynamic content generated.

